# Data Suppression
The Data Suppression section in the Settings page allows organizations to define and update their suppression rules, specifically through configuring the N-Size threshold. This setting safeguards sensitive data and ensures that individual identities are protected in datasets by suppressing data in small population groups.
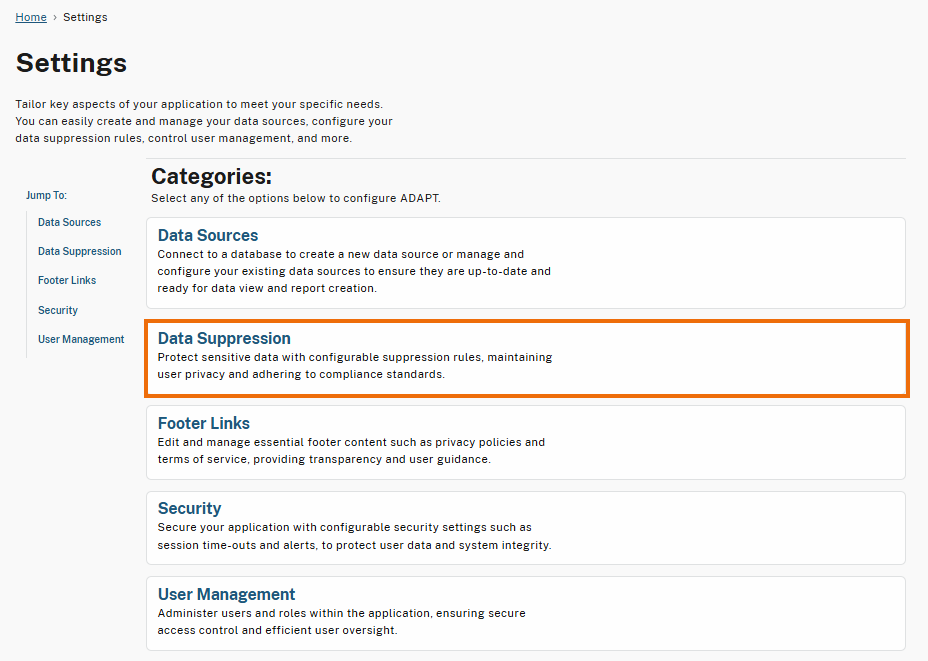
To access the Data Suppression page, select the **Data Suppression** category on the Settings page.
Data Suppression Category in Settings
## Configure Suppression Rules
Follow the steps below to configure the suppression rules by setting your organization’s N-Size threshold.
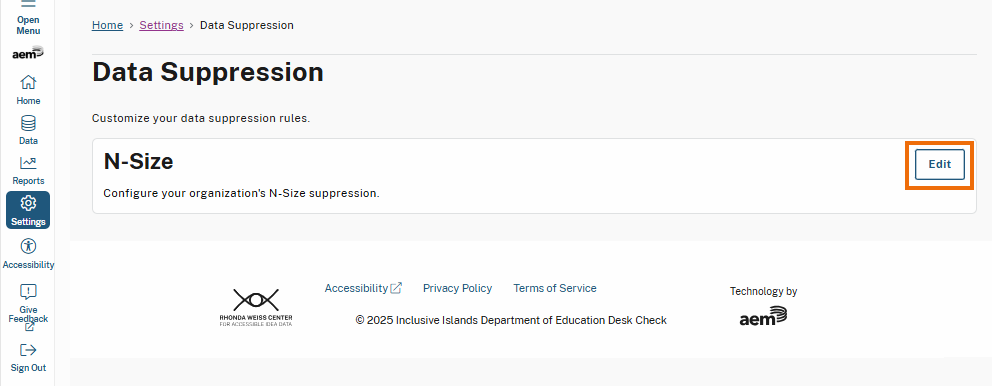
### **Step 1. Select Edit on Data Suppression Page**
On the Data Suppression page, select **Edit**. This will display the N-Size field, allowing you to configure the suppression threshold.
Edit Button on Data Suppression Page
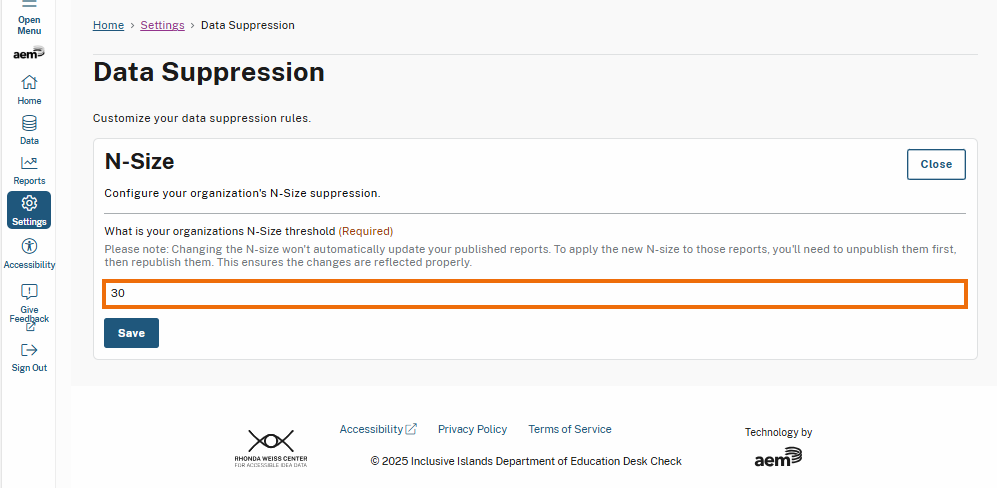
### **Step 2. Define N-Size**
Enter a value into the N-Size field. The N-Size determines the minimum N size required for data to be displayed without suppression.
{% hint style="warning" %}
**Impact on Published Reports:**
Changing the N-Size threshold will not automatically update published reports. To apply the updated suppression rules, you must unpublish the affected reports, apply the changes, and republish them. This ensures that the new N-Size threshold is reflected in your reports.
{% endhint %}
N-Size Field
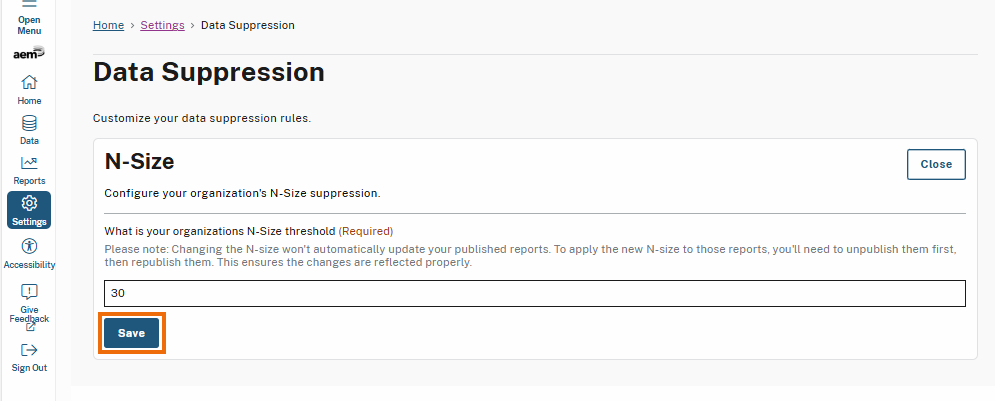
### **Step 3. Select Save**
Once the field is defined:
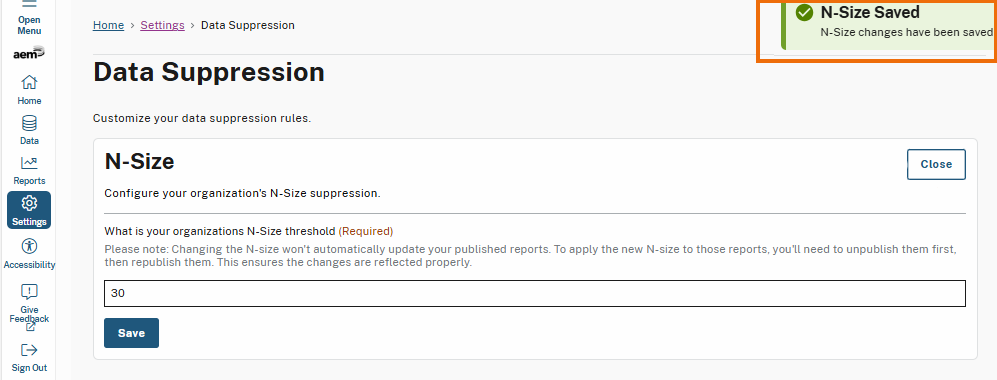
1. Select **Save**.
Save Button on Data Suppression Page
2. Once saved, a success message will display notifying you the N-Size settings were saved successfully.
N-Size Saved Message
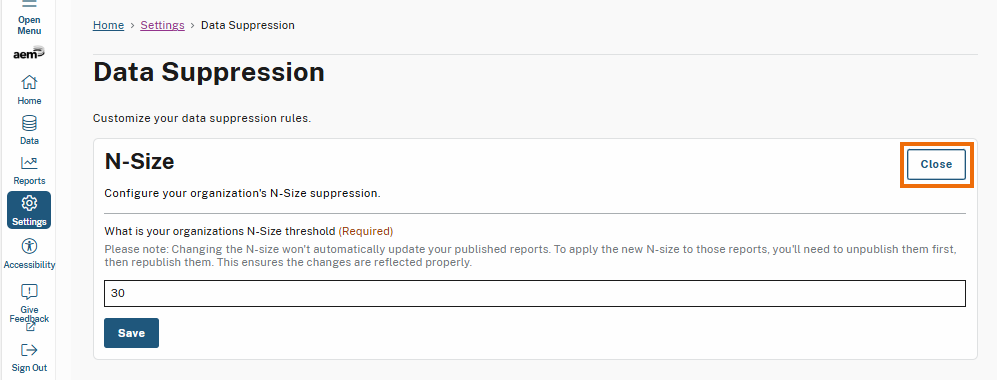
### **Step 4. Select Close**
After saving your changes, select the **Close** button to exit edit mode. This action will collapse and hide the N-Size field while keeping you on the Data Suppression page.