Create Data Source

This section walks users through the process of creating a data source by connecting to a SQL Server. You will access the Data Sources page from the Settings page. To create a data source by connecting to a SQL Server, follow the process below.

Select Create

On the Data Sources page, select the Create button. This will open the Data Source Creation Wizard to guide you through the 3-step process of creating a new Data Source.

Data Sources page showing instructions to connect to a database and manage data sources. The 'Create' button is highlighted, allowing users to add a new data source.
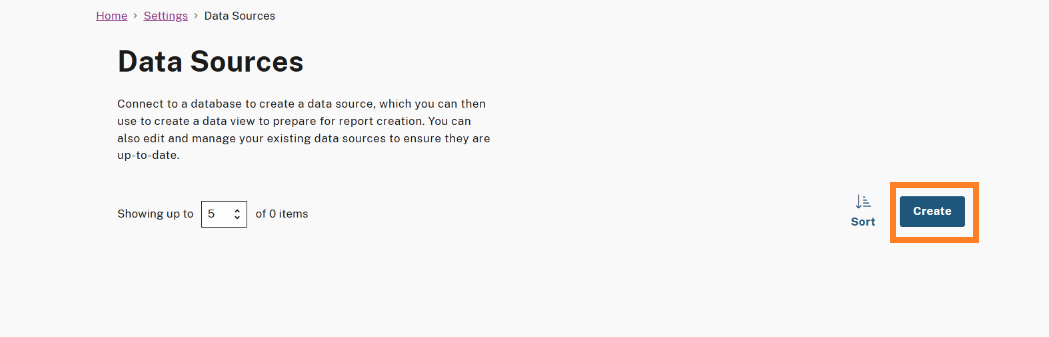
Create Button in Data Sources

Step 1. Define Your Data Source

You will be brought to Step 1 of the Data Source creation wizard, fill out the required fields, which include:

  1. Source Type: Select “Microsoft SQL Server”.

  2. Data source name: Provide a unique name of the data source.

  3. Description: Provide a description of the data source.

Step 1 of 3: Define data source. Required fields are outlined, including Source Type, Data Source Name, and Description. The user has selected 'Microsoft SQL Server,' entered 'Demo Data 2024,' and added a description. Buttons at the bottom: 'Next: Connect' and 'Cancel'.
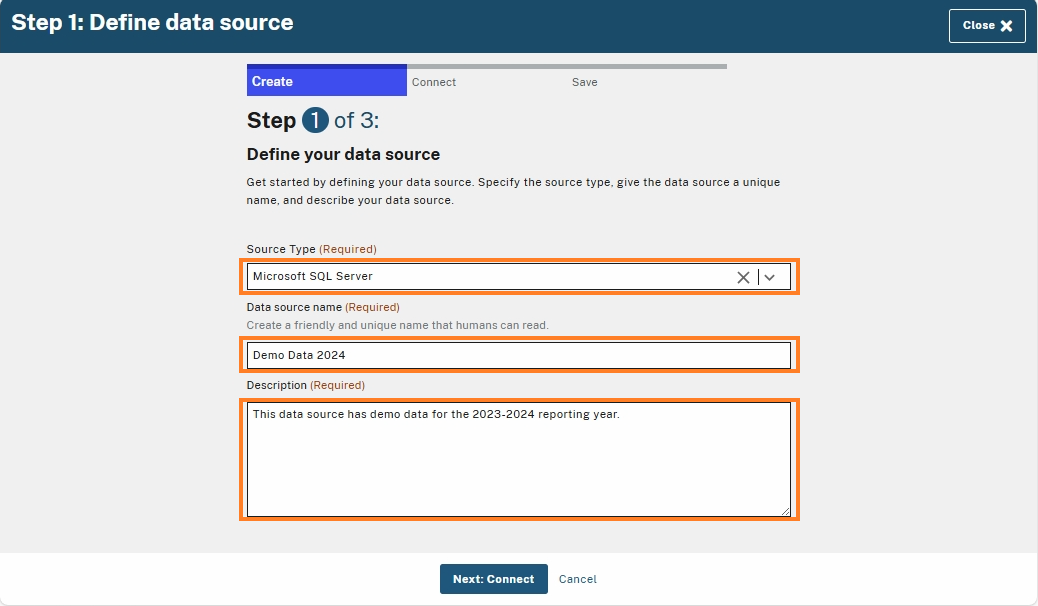
Step 1: Data Source Required Fields

Once all the required fields are filled out, select Next: Connect to proceed to Step 2 of the wizard flow.

  • Select "Cancel" or "Close" to exit the wizard, which will discard any information entered or progress made up to that point.

Step 1 of 3: Define data source. The 'Next: Connect' button at the bottom is highlighted, allowing the user to proceed to the next step after filling in the required fields.
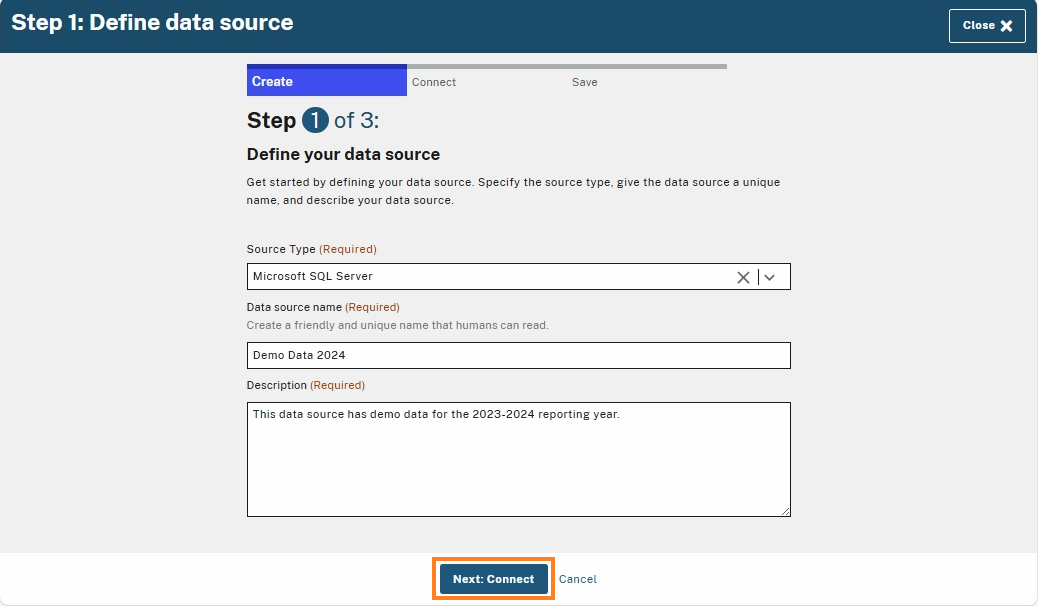
Next: Connect Button

Step 2. Connect to Your Database

On Step 2 of the wizard flow, to establish a connection with the SQL Server, enter the database connection credentials in the required fields, which include:

  1. Server Address: This is the URL address of the database.

  2. Port number: This is the port number for the database.

  3. Database name: This is the name of database.

  4. Username: This is the username for the database.

  5. Password: This is the password for the database.

Step 2 of 3: Define source connection. Required fields are highlighted, including Server Address ('dbserver123.example.com'), Port Number ('1234'), Database Name ('example database'), Username ('admin'), and Password. The 'Test Connection' button is available, with 'Back,' 'Next: Save,' and 'Cancel' options below.
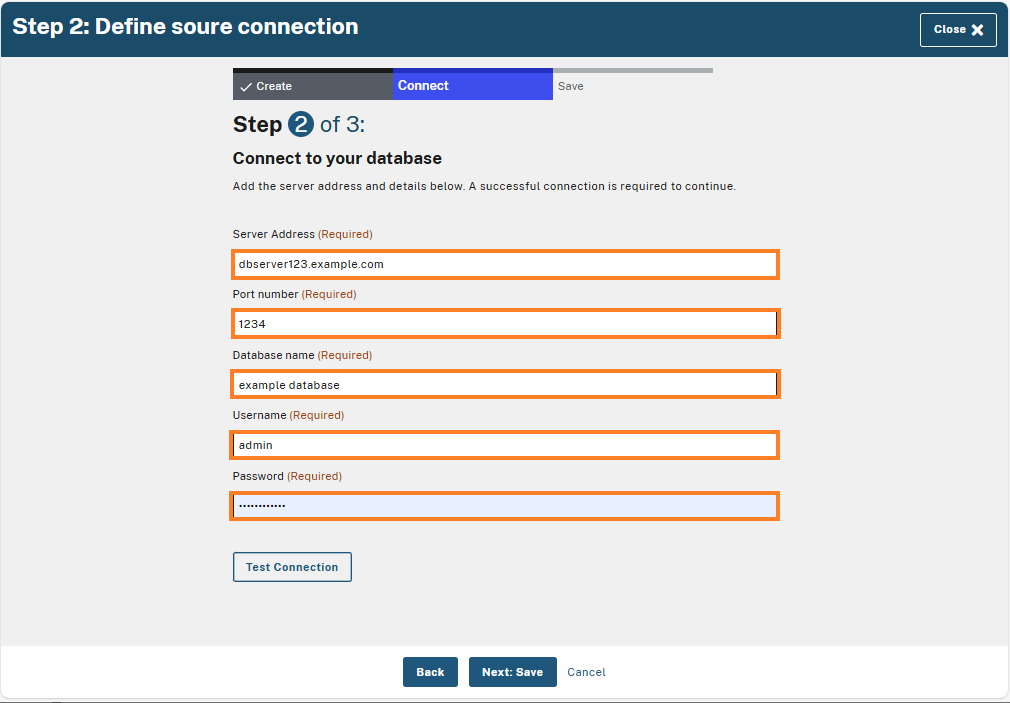
Step 2: Data Source Required Fields

Once all the required fields are filled out, select the Test Connection button.

Step 2 of 3: Define source connection. The 'Test Connection' button is highlighted, allowing the user to verify the database connection.
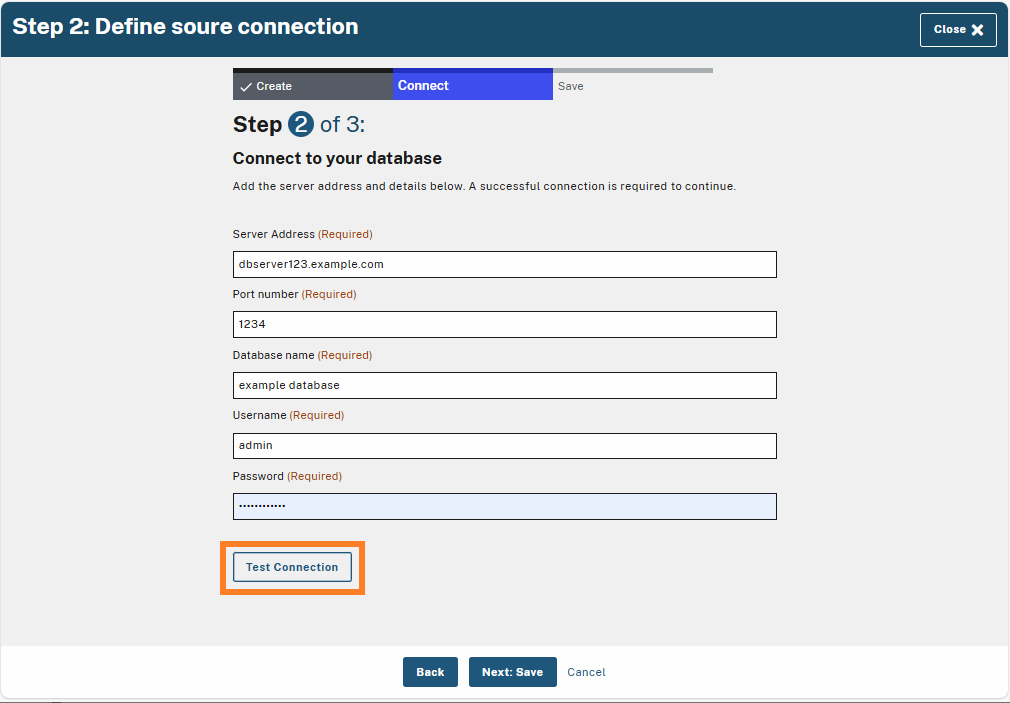
Test Connection Button
  • If the connection is successful, a confirmation message will display as “Connected successfully”.

Connection test successful message displayed: 'Connected successfully!' with options to proceed using 'Next: Save,' go 'Back,' or 'Cancel.'
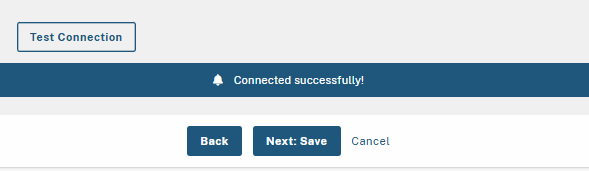
Connection Success Message
  • If the connection is unsuccessful, an error message will display as “Unable to connect. Review your connection details and test it again”. Ensure to check your connection credentials and network settings beforehand.

Connection test failed with an error message: 'Unable to connect. Review your connection details.' Options include 'Next: Save,' 'Back,' and 'Cancel.'
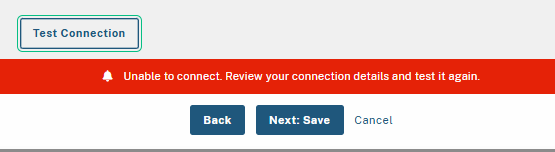
Connection Error Message
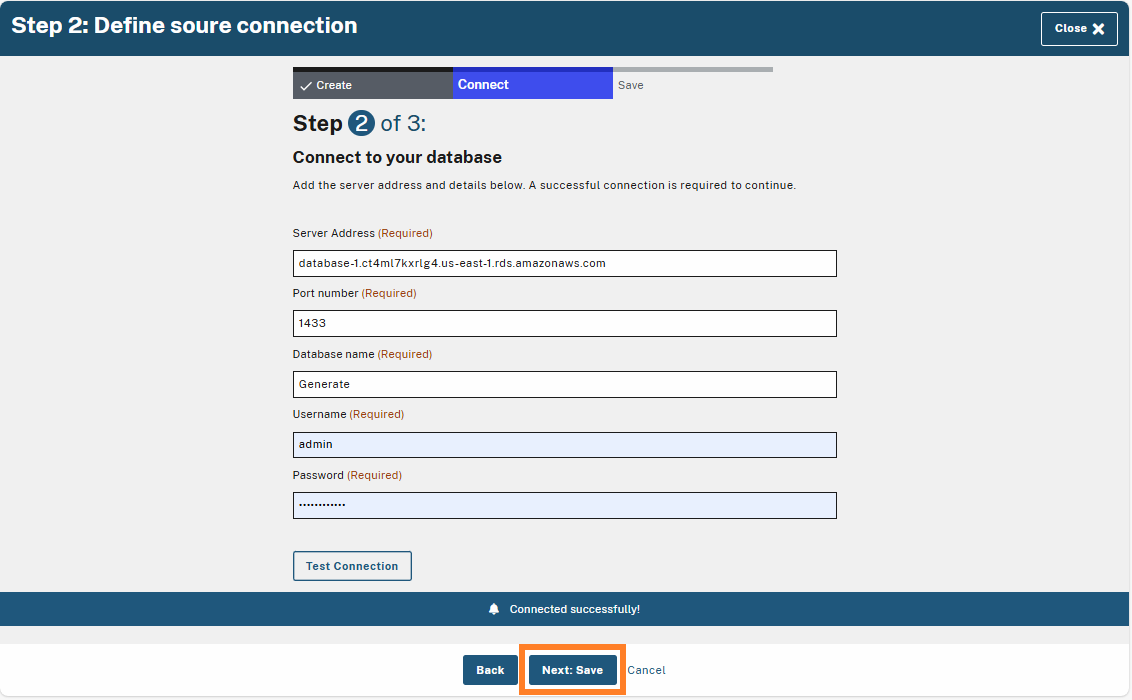
Once the connection is successful, select Next: Save to proceed to Step 3.

  • Select "Back" if you need to revise any previous steps.

  • Select "Cancel" or "Close" to exit the wizard, which will discard any information entered or progress made up to that point.

Step 2 of 3: Define source connection. The 'Next: Save' button is highlighted, allowing the user to proceed after successfully connecting to the database.
Next: Save Button

Step 3. Data Source Summary

On Step 3, review the summary details of your Data Source and select Save.

  • Select "Back" if you need to revise any previous steps.

  • Select "Cancel" or "Close" to exit the wizard, which will discard any information entered or progress made up to that point.

Step 3 of 3: Data Source Summary. The summary displays connection type, friendly name, description, and data source details such as server address, port number, database name, and username. The 'Save' button is highlighted, allowing the user to finalize and save the data source.
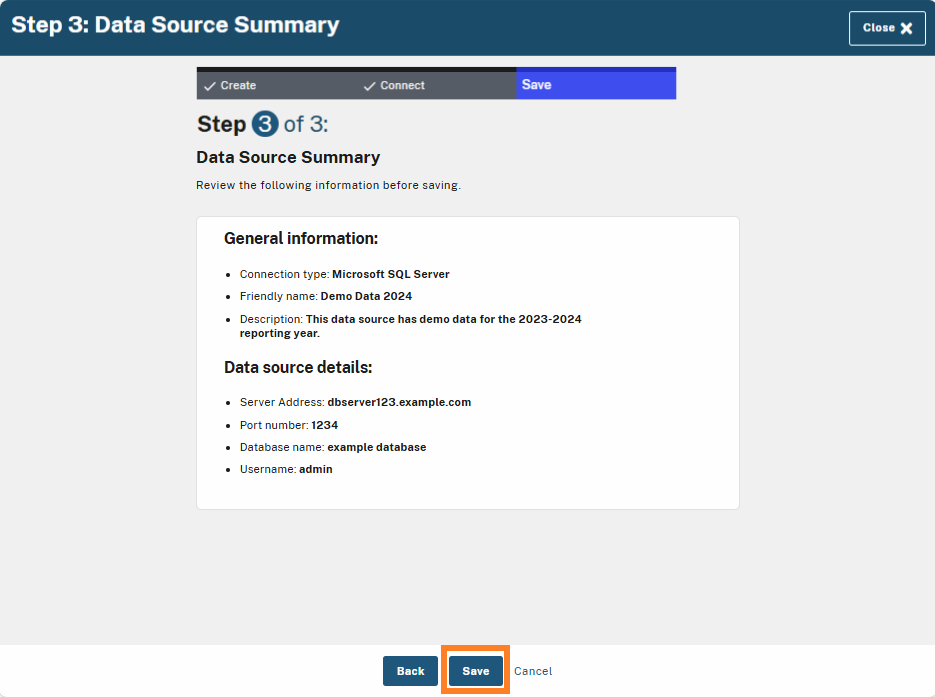
Step 3: Data Source Summary

View Data Source page

Once the Data Source is saved, you will be brought to the Data Source page. You will find the newly created data source displayed in the list.

Data Sources page showing one data source titled 'Demo Data 2024' with a status of 'Available.' The page includes options to sort or create a new data source, with navigation links and footer information visible at the bottom.
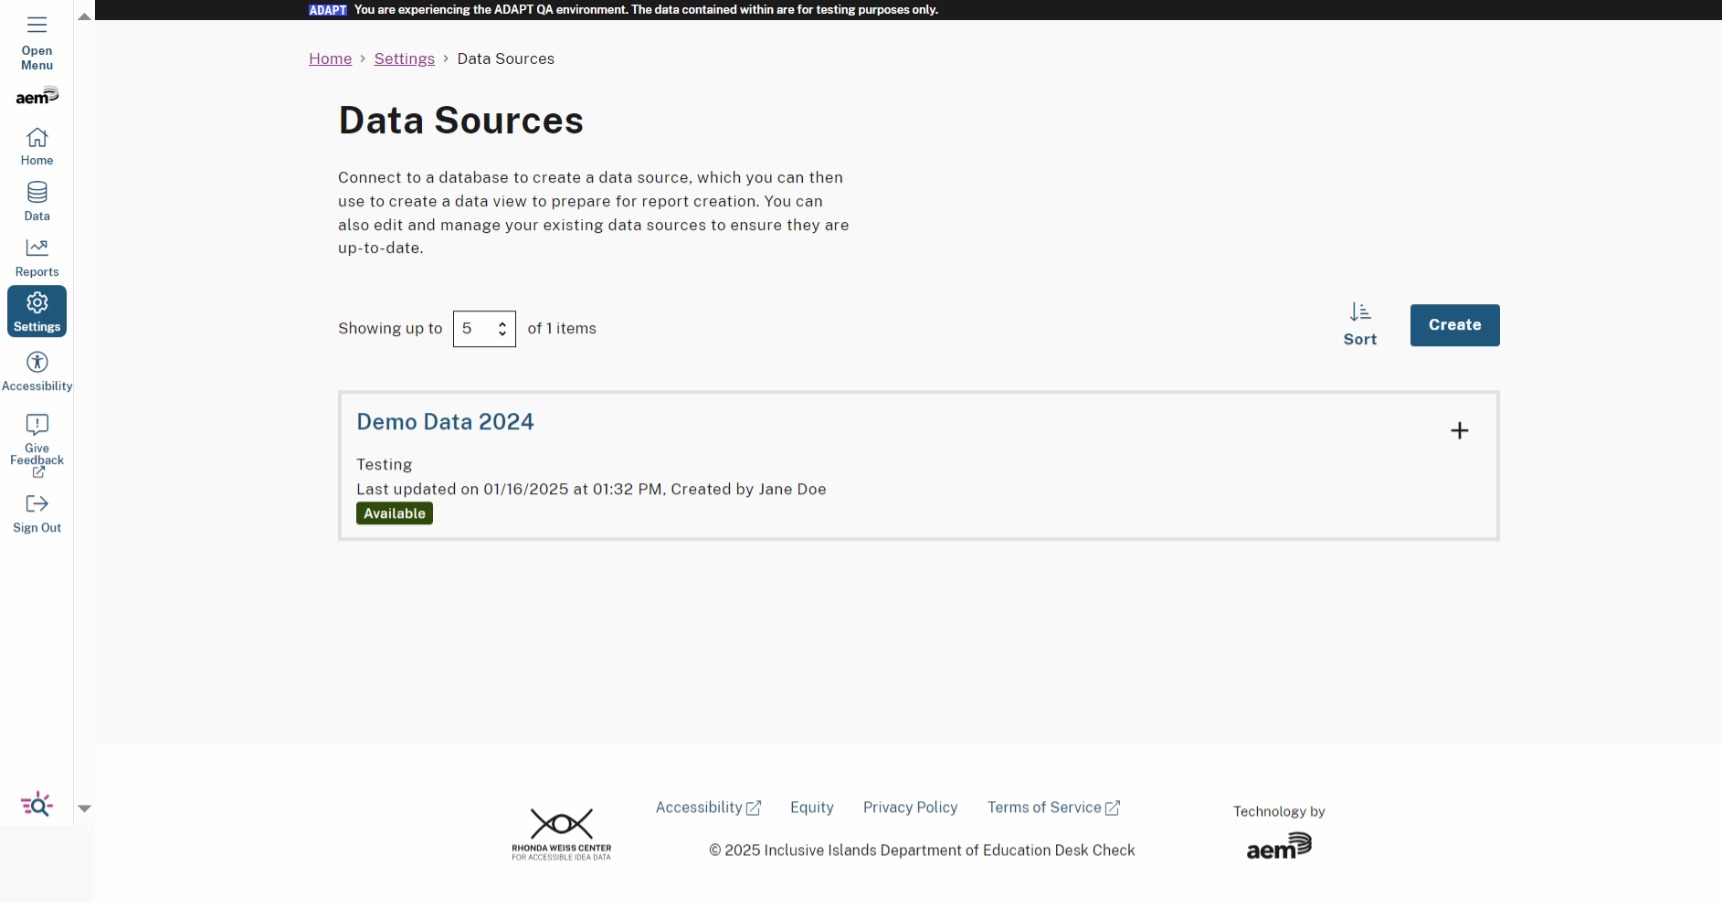
New Data Source Displayed in List

Last updated